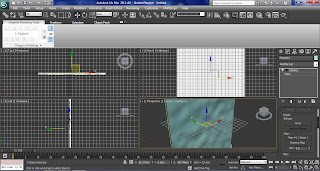
 Create a plane at the top viewport with length to 1000, width to 500, and have segs for length and width to 200.
Select the modify panel and choose displace from the modifier list, go to displacement rollout, strength to 17 and image, map to noise.
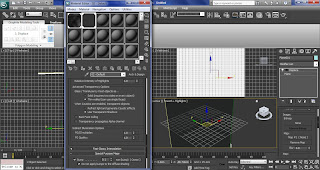
Open material editor, drag and drop the noise map to the slot and select instance, at the parameters, noise parameters, have noise type to turbulence, level to 10 and size to 300.
Click on the second material slot, get material and select Arch & Design from the list, Select template from the drop-down list, choose Water, Reflective Surface, with transparency to 1.0.Go to advanced trasparency option, glass / translucency treat objects as Thin-walled. At the special purpose maps, have largest to 100, smallest to 1, quantity to 20 and steepness to 5.
Open environment settings, background, turn on use map, in environment map choose gradient ramp. Then open material editor, drag and drop the Gradient Ramp map to a slot, select instance, at coordinates rollout, mapping to spherical environment, gradient ramp parameters rollout, flag1 have dark blue colour and flag to have light blue colour, noise amount to 1, type fractal, size to 2 and levels to 10 and output amount to 3.
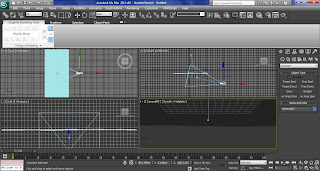
Create a target camera in the top viewport and a mr area spot in the front viewport, go to the modify panel, general parameters, turn off shadow, Intensity/Color/Attenuation, multiplier to 2.
Open environment settings, go to the atmosphere settings and click add fog, turn on use map and choose gradient ramp. Then open material editor, drag and drop the gradient ramp map, in mapping choose screen, angle w to 90, flag dark blue to light blue and output amount 1.5.
Select camera and go to the modifier panel, environment ranges, tuen on show, near range to 200 and far range to 810.
At the environment settings, atmosphere add volume light and pick the area spot, have density to 7.
Select area spot, modify panel, Intensity/Color/Attenuation, colour to blue, use far attenuation, start at 430, end at 650, advanced effects, projector map, noise. Drag and drop the noise map to a material slot, coordinates, source choose explicit map channel. In noise parameters, choose turbulence for noise type, levels to 10, 0.05 for size and 0.35 for low.
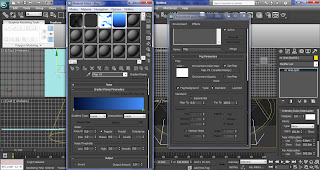
To add bubbles to the scene, I have use PCloud, creat PCloud in the left viewport, go to modify panel and in basic parameters, display icon, rad/len to 230, width to 700, height to 480. In particle generation, particle quantity, use total to 1000, particle timing, emit start to -10, particle size to 1.5, variation to 100 and 0 for grow and fade. Choose sphere for standard particles.
Open material get material and choose Arch & Design from the list, select glass from the termplate fromthe drop down list and assign the material to the PCloud.
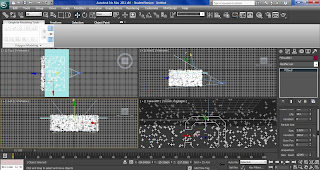
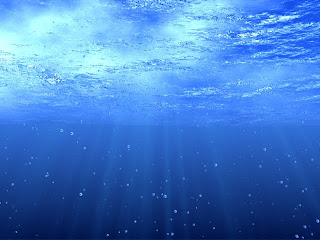
The rendering has taking a long time for just 1 scene, so I decided to take off the volume light effect to increase the rendering speed and the out come is shown below.
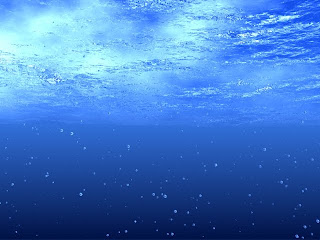
Reference:
polygonblog
2011
3D Underwater Scene
http://www.polygonblog.com/3d-underwater-scene
[Internet]
[04/4/2011]
Can I use your lovely underwater pict ?
ReplyDelete