Tuesday 22 February 2011

Armalite AR-7


To begin making the armalite AR-7, I creat a plane with the front view of the gun image for the material. Than i use box to made the handle first, by convert to poly, using polygon to select the shape and swiftloop to extrude the part I need, than use vertex drag the box to the shape I want and use meshsmooth to smooth the shape.


The barrel are made using cylinder, by convert to poly than extrude the part and when the size need to change, I have use bevel to drag the end larger carry on extrude until the shape get smaller. To make the aiming sight I select one of the face extrude it and use align to align it with the center of the barrel, than i apply meshsmooth, however the sight has also been smooth out, which I need to select smooth by group in meashsmooth than back to editable poly and use polygon, highlight the faces that I don't need to be smooth and choose a different smoothing groups number.


Box is used to make the trigger part, convert to poly and change the shape using vertex, than using swiftloop to extrude the rest of the body and the trigger, to join the curve together I deleted the end of the faces and join them with the second part using edge than bridge.


To smooth the corner of the body, I use edge to select the part and click chamfer and change the vale to the one i need.


The magazine are made using box by converting it to poly and changing the shape using vertex, and extrude the part, than use chamfer again to smooth the corner.


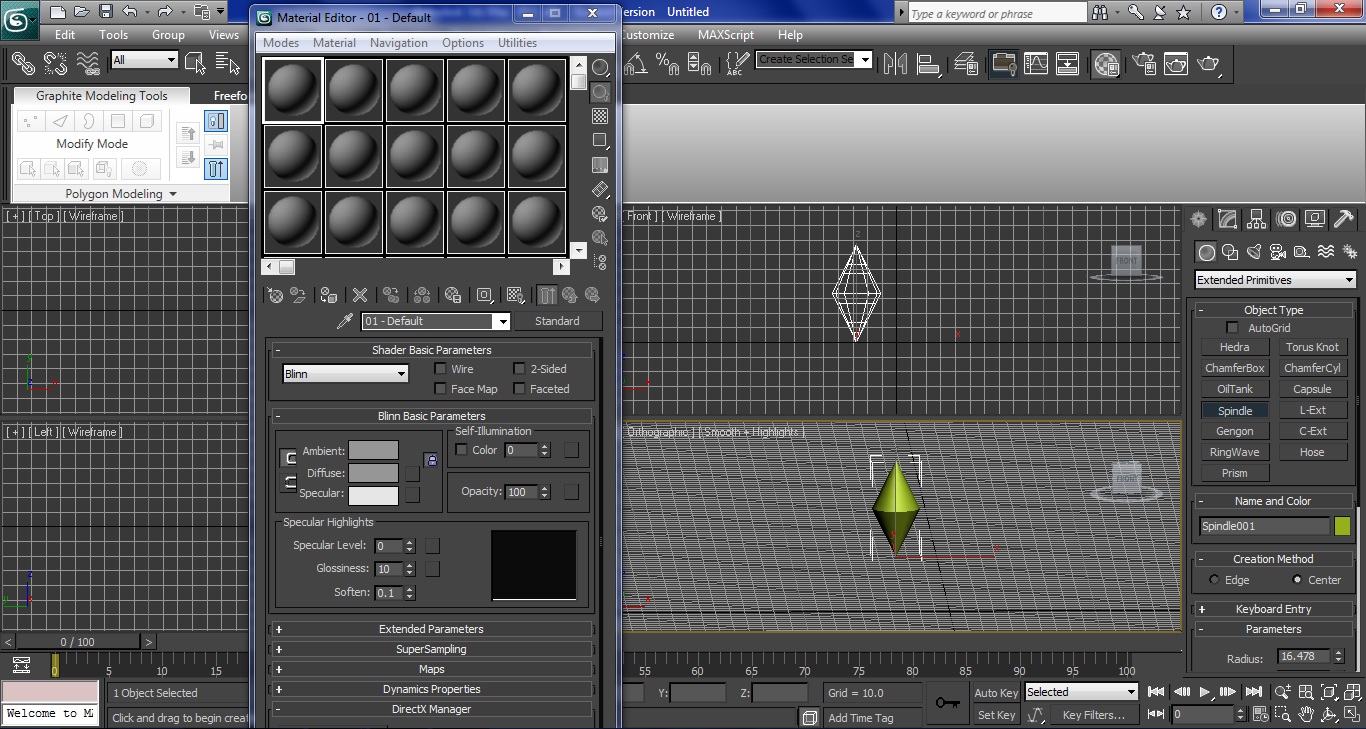
For the wood material I went on the internet and copy an image from the website, than put in photoshop to get the right part i need. Back on 3dmax I create 3 material id for the handle and click material editor choose multi/sub-object and click bitmap from the diffuse none, use the wood image and in maps drag the same image to bump, than change the vale to make it more texture and have different colour for each id, add in the metal material to the gun, by clicking diffuse change the colour, click none and choose bitmap, metal patten image. Than on reflection none, click reytrace, lower the value to make the colour visible, so it now have two type of metal with different colours on the gun.


Reference:

Blue Lobster
2009
Wood – Rosewood 2
http://blulob.com/2009/04/17/photoshops-built-in-actions-textures/
[Internet]
[17/2/2011]

aaa bbb
2004
Brushed Metal Pattern
http://www.adobe.com/cfusion/exchange/index.cfm?event=extensionDetail&extid=1043496
[Internet]
[2/3/2011]

Watch light


To begin making the watch, i import the front view image of the watch to the material editor, by chosen bitmap from diffuse and drag the material on the plane.

Than I create a cylinder, convert it to poly and use bevel to make front curve in and smooth the shape using turbosmooth.


To make the line that mark the second, I create a box to the right length and width, change the angle so it match with the watch, than I change the pivot point of the box to the center of the watch, clone the box and use select and rotate to drag the new box to the place I want it to be, than repeat this until i got the full circle.


The time handle is make using box and cylinder for the base, I convert the box to poly, extrude and change the shape of the top, so is like a triangle. To create the hollow part in the middle, I put another box inside, than I use boolean to remove the box inside the handle.


The body of the watch is made using cylinder, convert to poly and drag the vertex point to form the shape of the watch, than add two cylinder from the handle, convert one of them to poly, so I can use bevel to make the curve for the handle.


To make the wrist strap, I have join 9 box's together with different length and width, than i curve the edge of the box using chamfer, first convert the box to poly, use edge from the selection and click the edge of the box and click chamfer setting, change the setting to the value I like and press ok, which give me an curve edge box, group and clone those box's and change the angle of the box to form the wrist strap.


The back of the wrist strap are also made out of an box, simply convert to poly and change the shape using vertex and swiftloop to get extra segs, so is easier to extrude different part, to add the hollow part I put in an sphere and an box in the middle, than i use proboolean to take away the two objects.


To finish off the watch i create an metal material, by clicking diffuse none and choose bitmap, metal patten image. Than on reflection none, click reytrace, change the value of bump, specular level, glossiness and soften to make the material have more texture, than drag it to the watch. For the second handle, I set the material id for the two part, than I use multi/sub-object, change the set number to 2 and change the colour of those two material, than drag on the second handle.


Reference:

aaa bbb
2004
Brushed Metal Pattern
http://www.adobe.com/cfusion/exchange/index.cfm?event=extensionDetail&extid=1043496
[Internet]
[2/3/2011]

Tuesday 15 February 2011

Mapping techniques


First open the leaf image in Photoshop, set the magic wand tool tolerance to 60 and click on the space around the leaf, create a new layer and fill the selection with black. To make sure the white outline of the leaf is not visible, I give the layer an outer stroke of black and fill the rest with white colour.

Create a plane in 3ds max with 30 length and width, bring up the material editor and click none in diffuse, then click bitmap and choose the leaf image. Click Go to parent button to go back to the base level of the material, scroll down to Maps tab, click the none box next to Opacity and choose the black and white leaf image.

To create more texture drag and drop the leaf image to Bump option and change the value.
Apply the material to the plane, convert the plane to poly, choose vertex and soft selection, so I can shape the leaf to become more realistic.


Material editor


To get more material to use in 3D max, I have find different kind of images from the internet and by using Photoshop, i can edit the images to the size and part i need and save as bitmap.


First I made a spindle object, Open material editor, on the Shader Basic Parameters, choose Translucent Shader, in Translucent Basic Parameters, choose two colours for Diffuse and specular and same for Translucency, change the colours for translucent Clr and fliter color. After I have chosen the colours I drag the material to the spindle.


To use the images found from the internet, use a new sphere and click diffuse on the Blinn Basic Parameters, then choose bitmap and find the images, i can now go to Maps and drag the map from the Diffuse colour down to Bump to copy the same map, set the value and drap the material to a box.


When using more then one images on an object, I will need to set ID on the object, in the editable poly mode chose polygon, go down to polygon: Material IDs and by highlight different part of the object it should tell you the id of the part, or i can select the part i want and rename the id, after the ids is set, go back to material editor and click on standard, choose multi/sub-object, click set number to 4, because that is how many number of ids i got for my object and in each number of id choose bitmap to set each image on each id, then drag to the object.


For the final image, create a torus knot and in the material editor change the colour on diffuse and in the specular highlights change the value of the specular level, glossiness and soften, then at Maps click on reflection choose the bitmap image and drag on the object.


Reference:

STH29
2010
Sackboy

http://www.turbosquid.com/FullPreview/Index.cfm/ID/534261
[Internet]

[9/2/2011]


Thundafunda.com

2011

animals tiger body skin pattern background pictures

http://thundafunda.com/2/animals-body-texture/ animals-tiger-body-skin-pattern-background- pctures.php

[Internet]
[9/2/2011]

Desktopmedia Media Wallpapers

2011

Manhattan Skyline at Twilight, New York

http://www.desktopmedia.eu/r_nature_wallpapers_20_night_cityscape_beauty_862_manhattan_skyline_at_twilight_new_york_42196.html

[Internet]
[9/2/2011]

2011

DEPOT GRILLE STAUNTON VA

http://poniecki.org/media/?p=depot-grille-staunton-va

[Internet]
[9/2/2011]

Monday 7 February 2011

Research

Watch light


The Omega Seamaster, model 2531.80.00, from The world is not enough.

"The first is an illumination light that is used when 007 and Electra get trapped in an avalanche, and 007's inflatible ski jacket forms a dark, protective bubble around them. There are blue LED lights at all of the hour markers on the watches face as well as another ring of LEDs just inside that. The light is activated by turning the bezel."


Lotus Esprit S1


The Lotus Esprit from The spy who loved me.

"
The Lotus Esprit shot to fame in the 1977 James Bond Film, The Spy Who Loved Me, staring Roger Moore and Barbara Bach. The screen role of the Esprit in this film did more for Esprit sales than anything else Lotus attempted to do. How the Esprit came to feature in the film is a story of chance. Donovan McLauchlan, Colin Chapman's PR man, had been tipped off that the Bond movie was scheduled for Pinwood studios. So during 1975 he took a pre-production Esprit to the studios, dropped a quid to the doorman and left the Esprit prototype right in the path of anyone trying to get in or out. This gave the car maximum exposure and it wasn't long before Cubby Broccoli and the production staff saw the car and were so impressed with it, they chose the Esprit as James Bonds car in the film."


Armalite AR-7


Armatlite AR-7 from From russia with love.

"Bond uses an Armalite AR-7 survival rifle, issued to him by Q, to assassinate Krilencu. Kerim Bey (Pedro Armendariz) eventually does the shooting. Q mistakenly reports the rifle to be .25 caliber, while it actually fires a .22 Long Rifle cartridge."

Reference:

Jeremy Clemans
2010
The Ultimate James Bond ResourceThis is a featured page

http://www.jamesbondwiki.com/

[Internet]

[5/2/2011]

JOHN B. HOLBROOK, II
2010
Review of the “Bond” Omega Seamaster Professional Model 2531.80.00

http://seamasterreferencepage.com/srp/

[Internet]
[5/2/2011]


NA
2010
James bond omegas wristwatches
http://www.shadeone.com/watches/
[Internet]
[5/2/2011]


Mark
2010
James Bond's Lotus Esprit S1
http://www.lotusespritturbo.com/James_Bonds_Lotus_Esprit_S1.htm
[Internet]
[5/2/2011]


imfdb.org
2011
From Russia with Love

http://www.imfdb.org/index.php/From_Russia_with_Love

[Internet]
[5/2/2011]