Use what I have learn about biped, I have apply it on my animation character sackboy.
From the systems rollout, select biped and drag it out in the front viewport. Go to the motion panel and select figure mode, move the skeleton inside sackboy, and change the size of the skeleton. To save time, I can only change one side of the skeleton, select the part I want to copy and go to the motion panel, copy and paste rollout, click create collection, posture, then copy and paste posture opposite, this has copy the part I have selected and paste to the opposite side, then turn off figure mode.
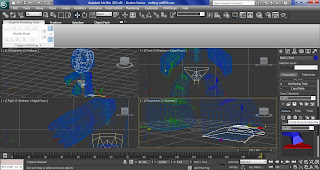
Select sackboy, go to the modifier panel and choose physique from the modifier list, select attach to node from the physique rollout and click on the node inside the skeleton.
This time instead of just using link for selection level, I have use control point is well, this give me more control over the envelope, so if the parent or child overlap is too big, I can manually scale it down.
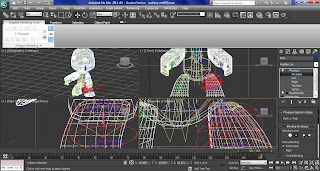
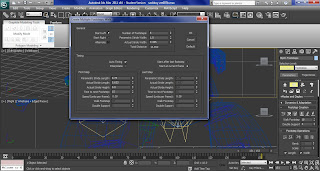
Next I apply the automatic footsteps, select the biped and click the motion panel. Click footstep mode, and at the footstep creation rollout, I choose walk and create multiple footstep button. I have set the number of footsteps at the dialogue box and click ok. Select create key for inactive footsteps to finish the automatic footsteps. Then I apply run and jump to the automatic footsteps, using the same technique.
Next I wanted to create some grass, so I create the ground using plane with 100 length segs and 100 width segs.
Draw a rectangle with 7.78 length and 0.2 width in the left viewport. Then use the line tool to draw a big triangle inside the rectangle and delete the rectangle after.
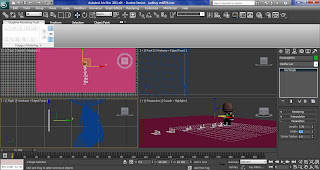
Next I need to add some vertices to the object and bend it, go to the modify panel and active the Segment sub-object level and select the two vertical segments, and 5 for divide. Apply bend and have the angle to 58, direction to 90 and bend axis to y.
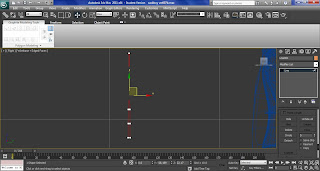
Activate Center sub-object level in the Bend modifier and move the center of the modifier to the bottom of the line.
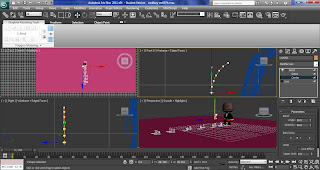
Turn the grass into a scatter object by select create panel, compound objects and scatter. Have the scatter setting with pick distribution object to the plane, scatter object, duplicates about 20000, perpendicular off, distribute using random faces, transforms rotation y to 180 and x, z scaling y to 25, display hide distribution object on.
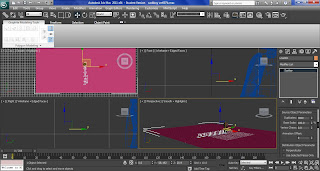
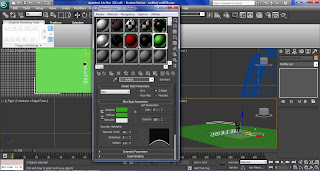
Open the material editor select both object and apply a new material to them, turn on 2 sided, have green colour, specular level to 30, glossiness to 0 and soften 1.0.
Reference:
polygonblog
2011
3D Grass and Sky
http://www.polygonblog.com/3d-grass-and-sky
[Internet]
[03/4/2011]
Very good model and I like the effects the biped has given it.
ReplyDelete