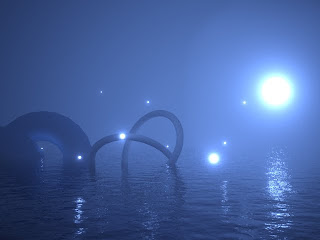
 For the night time ocean, because I cant get perfect blue colour out of the Daylight system, so remove the colour from it. Select the Daylight, go to the Modify panel, mr Sky Advanced Parameters, red/blue tint and saturation to 0.
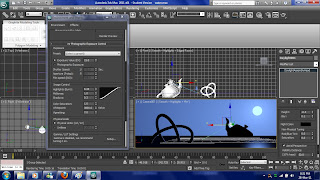
Select rendering, exposure control, mr Photographic Exposure Control, Image control, change the value of Colour Saturation to 1, this saturation of the colours of the whole image, Whitepoint to 3000, this change the colour temperature of the light source and Vignetting to 7, this adds vignetting effect to the image.

I can now add some floating light sources over the ocean, create a sphere, and have the radius of 0.3.
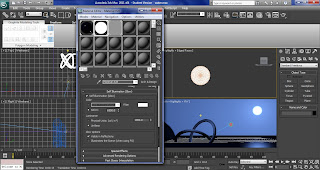
Open material editor, click get material and select Arch & Design from the list, on the main material parameters, Diffuse, colour to white, then go to Self Illumination(Glow), turn on self Illumination (glow) and Luminance to 1000. Assign the material to the sphere.

Now I need to change the mr Photographic Exposure Control setting, click rendering, environment, mr Photographic Exposure Control, change the value of Physical Scale: Unitless to 1500.
Create a Omni light and go to the modifly panel, multiplier to 20, decay, type to inverse square and start to 10. Place the Omni light to the middle of the sphere.
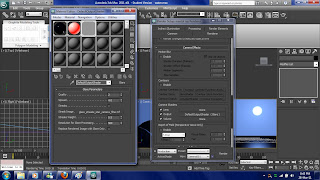
I want the moon and the sphere to have stronger glare, click rendering, render setup, renderer, camera effects, camera shaders, then open material editor and drag the glare shader to a material slot in the material editor. In material editor, change the spread value to 4, making the glare stronger.

Select Daylight, modify panel, mr Sky Parameters, Multiplier to 1.5, this make the moon darker.
Then I decide to animate the water, so I select the plane and apply the wave modifier from the modifier list, drag the time slider to 100 and turn on auto key. Click wave, change Amplitude 1 to 90 and Amplitude 2 to 19. Then click rendering, video post, select files in the dialog box, name it and save in .avi format. Select Execute Sequence Button and in the Time Output rollout, select range then render.
Reference:
polygonblog
2011
3D Water - The ocean
http://www.freeitsolutions.com/3ds/viewTutorial.aspx?id=4129
[Internet]
[27/3/2011]
No comments:
Post a Comment