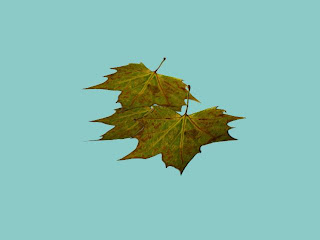
First open the leaf image in Photoshop, set the magic wand tool tolerance to 60 and click on the space around the leaf, create a new layer and fill the selection with black. To make sure the white outline of the leaf is not visible, I give the layer an outer stroke of black and fill the rest with white colour.
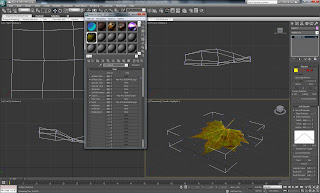
Create a plane in 3ds max with 30 length and width, bring up the material editor and click none in diffuse, then click bitmap and choose the leaf image. Click Go to parent button to go back to the base level of the material, scroll down to Maps tab, click the none box next to Opacity and choose the black and white leaf image.
To create more texture drag and drop the leaf image to Bump option and change the value.
Apply the material to the plane, convert the plane to poly, choose vertex and soft selection, so I can shape the leaf to become more realistic.

Good that you are writing out what you have achieved in the lectures - but what I am not seeing here is your work on the brief - what are you modelling and how?
ReplyDelete